
Transform your home with these simple, budget-friendly smart tech upgrades—no expertise required!
Why Go Smart?
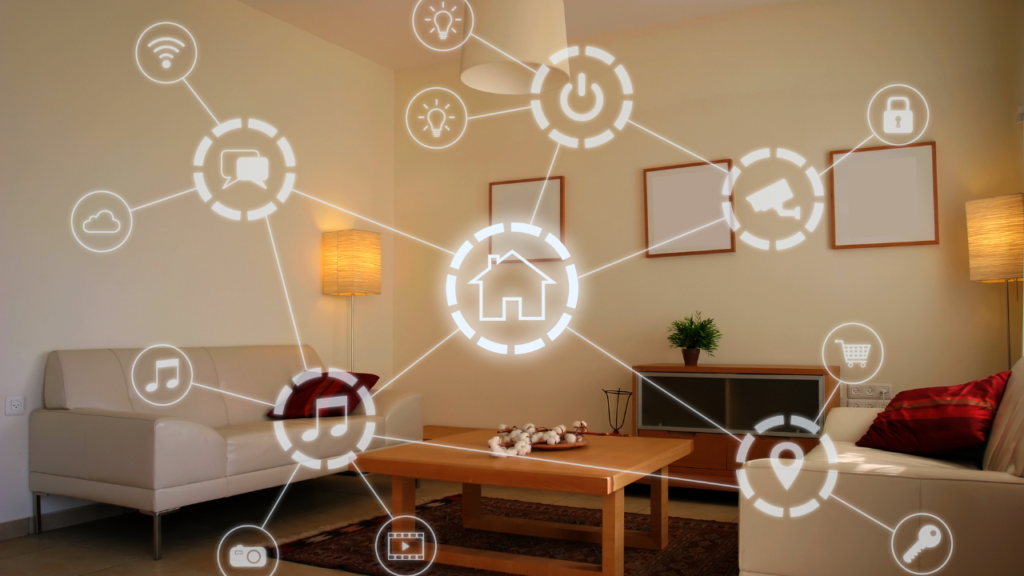
Smart home technology isn’t just for tech gurus anymore. With affordable gadgets and user-friendly apps, beginners can easily upgrade their homes to save energy, boost convenience, and even increase property value. In this guide, we’ll walk through three beginner-friendly projects: smart bulbs, programmable thermostats, and voice-controlled outlets, including cost-vs-value breakdowns and product recommendations.
1. Smart Bulbs: Instant Ambiance at Your Fingertips
What They Do: Adjust brightness, color, and schedules via your smartphone or voice assistant (Alexa, Google Assistant, etc.).
Installation Guide
- Screw It In: Replace your old bulb with a smart bulb.
- Download the App: Each brand has its own app (e.g., Philips Hue, Kasa).
- Connect to Wi-Fi: Follow in-app instructions to sync the bulb to your network.
- Set Up Voice Control: Link the app to your preferred voice assistant.
Product Picks
- Philips Hue White & Color Ambiance Smart Bulb (2-Pack) | $79.99
Best for color customization and reliability. - TP-Link Tapo Smart Wi-Fi LED Bulb (4-Pack) | $22.99
Budget-friendly, no hub required.
Cost vs. Value
- Upfront Cost: 30–30–80 for a starter kit.
- Savings: LED bulbs use 75% less energy than incandescent.
- Added Value: Mood lighting, vacation mode (random on/off to deter burglars).
2. Programmable Thermostats: Save Energy Effortlessly
What They Do: Automatically adjust heating/cooling based on your schedule or weather.
Installation Guide
- Turn Off Power: Shut off HVAC power at the circuit breaker.
- Remove Old Thermostat: Label wires to avoid confusion.
- Mount New Baseplate: Attach to the wall and reconnect wires.
- Connect to Wi-Fi: Use the app to set schedules and preferences.
Product Picks
- Google Nest Learning Thermostat 3rd gen | $179.99
Learns your habits and adjusts automatically. - New 2025 Ecobee3 Smart Thermostat | $129.00
Works with Alexa and room sensors for even temps.
Cost vs. Value
- Upfront Cost: 150–150–250.
- Savings: Cuts HVAC costs by 10–15% annually (up to $180/year).
- Added Value: Rebates from energy providers (check EnergyStar.gov).
3. Voice-Controlled Outlets: Power Up Your Convenience
What They Do: Turn lamps, fans, or appliances on/off via voice or app.
Installation Guide
- Plug It In: Insert the smart outlet into any standard socket.
- Connect to Wi-Fi: Use the app (e.g., Kasa, Amazon Smart Plug).
- Name Your Device: Label it “Bedside Lamp” or “Coffee Maker.”
- Set Routines: Automate devices to turn on at sunrise or when you arrive home.
Product Picks
- Kasa Smart Plug Mini (4-Pack) | $34.99
Compact design, no hub needed, works with Alexa/Google. - Amazon Smart Plug | $21.59
Seamless Alexa integration, simple setup.
Cost vs. Value
- Upfront Cost: 25–25–35 for a 2-pack.
- Savings: Reduces “vampire energy” drain by cutting power to idle devices.
- Added Value: Automate routines (e.g., “Alexa, goodnight” turns off all lights).
Cost vs. Value Comparison Table
| Upgrade | Upfront Cost | Annual Savings | Added Value |
|---|---|---|---|
| Smart Bulbs | 30–30–80 | 20–20–50 | Custom lighting, security features |
| Programmable Thermostat | 150–150–250 | 100–100–180 | Energy rebates, remote control |
| Voice-Controlled Outlet | 25–25–35 | 10–10–30 | Convenience, reduced energy waste |
Getting Started Checklist
✅ Check Wi-Fi strength in the installation area.
✅ Ensure your phone/tablet is compatible with the device’s app.
✅ Read reviews to confirm device compatibility with your voice assistant.
✅ Start with one upgrade (e.g., smart bulbs) before expanding.
Troubleshooting Tips
- Device Won’t Connect? Restart your router and reset the device.
- Voice Commands Not Working? Re-link the skill in your voice assistant app.
- App Glitches? Check for firmware updates or reinstall the app.
Final Thoughts
Smart home upgrades are easier and more affordable than ever. Whether you start with a $25 smart plug or a learning thermostat, these DIY projects pay for themselves in energy savings and everyday convenience. Plus, they’re a great way to dip your toes into the world of home automation without overwhelming tech jargon.
Ready to get started? Pick one project this weekend and watch your home get smarter!
Note: Product prices are subject to change. This post may contain affiliate links, which help support our blog at no extra cost to you.
Have questions or tips to share? Drop a comment below! 🛠️